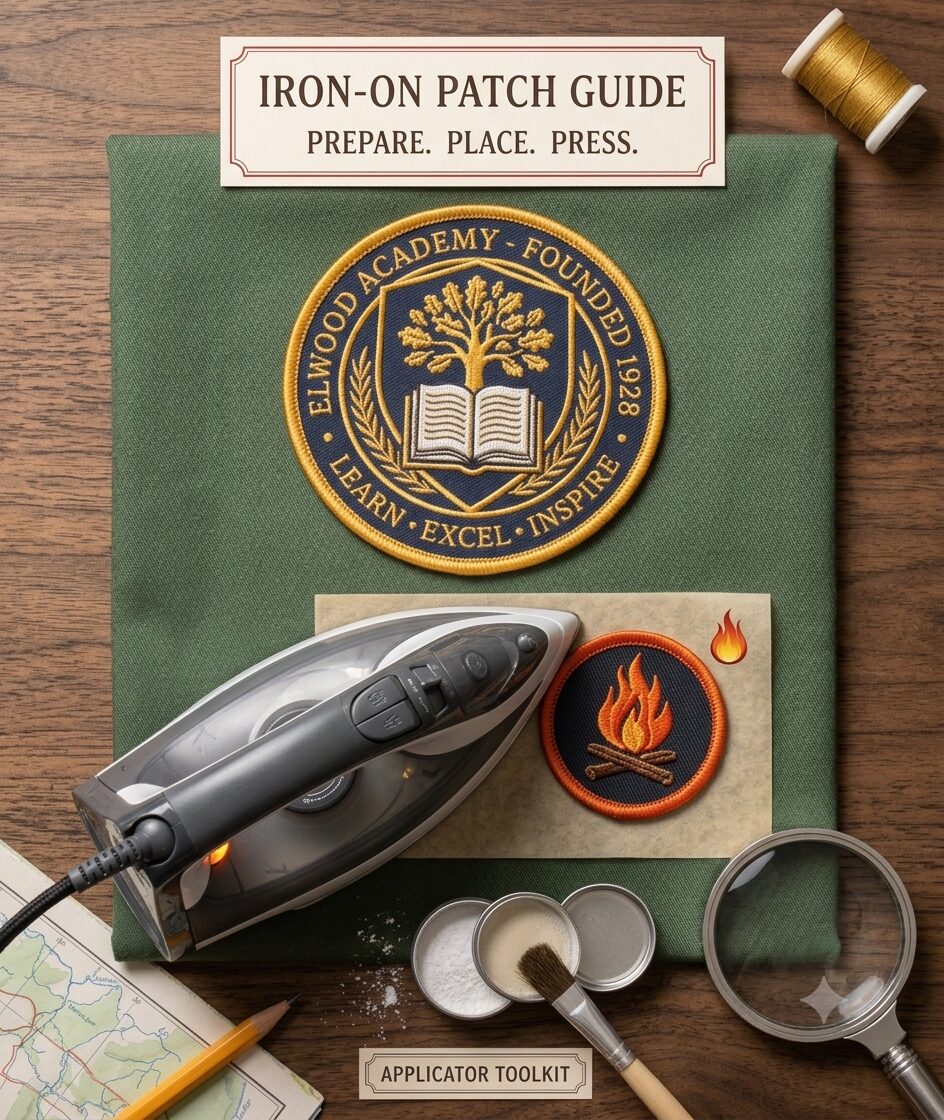
Iron-On Patch Guide: Everything You Need to Know About Applying Iron-On Patches
Iron-on patches are one of the easiest and most affordable ways to personalize clothing, repair damaged fabric, or promote your brand. Whether you’re decorating jackets, backpacks, jeans, hats, uniforms, or workwear, iron-on patches provide a durable and stylish solution without requiring sewing skills.
In this complete Iron-On Patch Guide, you’ll learn how iron-on patches work, their benefits, how to apply them correctly, common mistakes to avoid, and how to make them last for years.
What Are Iron-On Patches?
Iron-on patches are embroidered, woven, printed, or chenille patches that feature a heat-activated adhesive backing. When heat is applied with a household iron or heat press, the adhesive melts and permanently bonds the patch to compatible fabrics.
They are widely used for:
- Fashion apparel
- Denim jackets
- Jeans
- Backpacks
- School uniforms
- Work uniforms
- Sportswear
- Hats
- Tote bags
- DIY craft projects
Iron-on patches offer a clean, professional finish without the need for sewing.
Benefits of Iron-On Patches
Iron-on patches have become popular because they combine convenience with durability.
Some of the biggest advantages include:
- Easy to apply at home
- No sewing experience required
- Strong adhesive bond
- Cost-effective customization
- Professional appearance
- Long-lasting durability
- Ideal for repairing damaged clothing
- Great for branding and personalization
Whether you’re adding a company logo or covering a tear in your favorite jacket, iron-on patches are a practical solution.
How to Apply an Iron-On Patch
Applying an iron-on patch correctly ensures maximum durability.
Step 1: Prepare the Fabric
Wash and dry the garment before applying the patch. Make sure the surface is clean, dry, and wrinkle-free.
Step 2: Position the Patch
Place the patch exactly where you want it. Double-check the placement before applying heat.
Step 3: Cover the Patch
Place a thin cotton cloth or pressing cloth over the patch to protect both the embroidery and the fabric.
Step 4: Apply Heat
Using a household iron without steam, press firmly over the patch for approximately 30–40 seconds using medium to high heat.
Step 5: Flip the Garment
Turn the garment inside out and apply heat to the back of the patch for another 20–30 seconds to strengthen the bond.
Step 6: Allow It to Cool
Let the patch cool completely before handling or wearing the garment.
Best Fabrics for Iron-On Patches
Iron-on patches work best on fabrics that can safely tolerate heat.
Recommended fabrics include:
- Cotton
- Denim
- Canvas
- Polyester blends
- Twill
- Heavy cotton jackets
- Work uniforms
- Tote bags
Fabrics to Avoid
Some materials may become damaged by high heat or prevent the adhesive from bonding properly.
Avoid applying iron-on patches to:
- Leather
- Nylon
- Silk
- Waterproof fabrics
- Stretch fabrics
- Vinyl
- Delicate synthetic materials
For these materials, sew-on or Velcro patches are usually the better option.
Common Mistakes to Avoid
Many people experience patch failure because of incorrect application.
Avoid these common mistakes:
- Using steam while ironing
- Applying insufficient heat
- Moving the iron continuously
- Applying patches to dirty fabric
- Washing the garment immediately after application
- Using iron-on patches on heat-sensitive fabrics
Following the correct instructions significantly increases the lifespan of your patch.
How to Care for Iron-On Patches
Proper care helps your patches stay secure and vibrant.
To extend their life:
- Wait at least 24 hours before washing
- Wash garments inside out
- Use cold or warm water
- Avoid bleach
- Air dry whenever possible
- If using a dryer, choose low heat
For heavy-duty workwear or frequently washed uniforms, adding a few stitches around the border provides extra security.
Why Choose Galaxy Patches?
At Galaxy Patches, we manufacture premium custom iron-on patches using high-quality embroidery, durable adhesives, and precision craftsmanship.
We offer:
- Premium embroidery
- Strong heat-activated adhesive
- Free artwork and design assistance
- Fast production
- Worldwide shipping
- Competitive pricing
- Low minimum order quantities
- Bulk order discounts
- Strict quality control
Whether you need patches for your business, school, sports team, organization, or clothing brand, we deliver professional-quality products designed to last.
Order Premium Custom Iron-On Patches Today
If you’re looking for high-quality custom iron-on patches that are easy to apply and built to last, Galaxy Patches is your trusted partner. Our experienced team can help you create patches that perfectly represent your brand, organization, or personal style.
Contact us today for a free quote and discover why customers worldwide trust Galaxy Patches for premium custom iron-on patches.
Frequently Asked Questions
How long do iron-on patches last?
When applied correctly, high-quality iron-on patches can last for years, even with regular use and washing.
Can iron-on patches be washed?
Yes. Wait at least 24 hours after application before washing, and use cold or warm water for the best results.
Do iron-on patches work on every fabric?
No. They work best on cotton, denim, canvas, and polyester blends. Leather, nylon, silk, and waterproof fabrics are not recommended.
Can I sew around an iron-on patch?
Yes. Sewing around the edges provides additional durability, especially for workwear and frequently washed garments.
Can I order custom iron-on patches with my own logo?
Absolutely. Simply upload your artwork or logo, and our design team will create a free digital proof before production begins.
Are iron-on patches permanent?
Yes. When applied properly, they create a strong and long-lasting bond with compatible fabrics.